|
|
|
|
|
Introduction Install It Install Photos What I Like What I Don't Like Bottom Line Box Joints Dovetails Mortise & Tenon Edge Profiles Tidbits Introduction Home Tool Reviews Projects & Plans Articles Our Shop FAQs Sites I Like to Visit Build a Kayak E-Mail Us! |
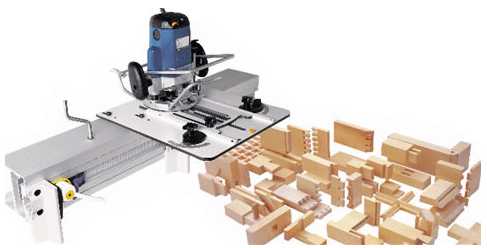
IntroductionThe WoodRat is the only machine/tool/jig that I have used that has virtually unlimited uses and seems to grow on and with you! There is a bit of a learning curve, and be prepared to make or purchase a few jigs to assist in clamping work to WoodRat face. But I believe that the time and effort spent towards taming the WoodRat is well-worth the investment.
Is the WoodRat Right For You My simple answer: If you want a turn-key jig to occasionally produce box joints or dovetails...NO. However, if you want a tool/machine/jig that will produce virtually all cabinet-making joints and you don't mind fiddling around a bit...YES! Furthermore, the WoodRat is especially beneficial to those who want the hand-tool look and quality in their joints, with production-capable repeatability. I believe that even production or professional shops could make good use of the WoodRat given its unique capabilities and wide range of cutter options. Bottom line: Download and read the manual before purchasing the WoodRat. Download and view the demonstration video. Envision the steps and fixtures required to make the joints you plan to produce. Or email me. I am always more than happy to provide my side of the story. So What is the WoodRat? The WoodRat is not a dedicated box joint jig nor is it a dedicated dovetail jig, nor a mortise and tenon jig. Rather, it is a unique router-driven machine, similar to a Machine Shop Mill, but for woodworking. Will it do box, dovetail, and mortise and tenon joints? Yes, and with more varieties and cutter options than any jig currently available. Given its versatility, the WoodRat requires some experimentation, clamping fixtures, shop-made stops, and so forth. A Few Words of Advice
Where are the Images and Videos? WoodRat Links
WoodRat Installation - The WallThere is no arguing that the WoodRat should be installed on a wall. Those without walls, cob up something to attach the WoodRat to a workbench. This works, but if you spend anytime at all with the WoodRat, you soon wish for a wall. Our shop has absolutely no open wall space, and I did not want to attach the WoodRat to one of our workbenches, so I decided to suspend a WoodRat "wall" from the shop ceiling. The design is intended to allow me to swing the WoodRat wall up to the ceiling when the WoodRat is not in use while providing a perfectly stable and flex-free wall for the WoodRat when needed. As it turns out, I store my WoodRat accessories, books, etc. in the suspended wall. Thus, swinging it up and out of the way has not been an option. Thus, it takes valuable space right in the middle of our shop. I used construction 2 x 6 lumber for the basic frame and the ceiling bases, planed and jointed for appearance. I used lag screws to mount the frame to the ceiling joists. I used 3/4" material for the support arms--nothing more substantial is required. I used 3/4" melamine for the "wall" surface. It provides a solid, stable surface, that I can write on, clean, etc. I used 3/8" bolts to join the wall frame, ceiling base, and the support arms. Once tightened down, there is absolutely no flex whatsoever to the unit. I made the WoodRat mounting bracket to the specifications described in the WoodRat guide. I planed and jointed construction pine to 2" x 5" and crosscut it to match the length of the WoodRat (36"). I mounted the bracket to the melamine using four 3/8" bolts. I produced the WoodRat hangers to the specifications described in the WoodRat guide, except, I made mine 10" long rather than 9" long. I milled the required rebate to 6mm x 12mm and mounted the hangers to the bracket as described in the WoodRat instructions. The following are a few drawings I worked from to build the WoodRat wall. Slide OneThe basic frame is made from 2 x 6 material, planed and jointed to 1-3/8 x 5". The ceiling bases measure 5" x 60" and are mounted to the ceiling joists using 4 lag screws. The wall frame measures 39" x 60" and fits between the two ceiling bases with a tight fit. 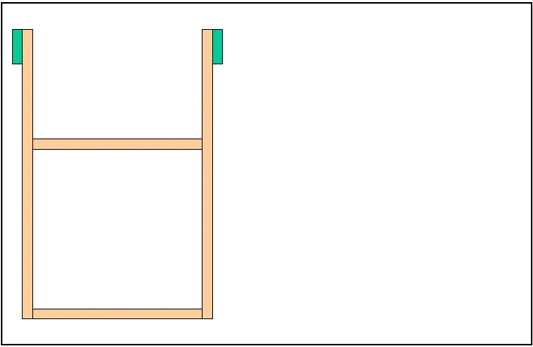
Slide TwoThe wall frame is mounted to the inside of the ceiling bases using 3/8" bolts, washers, and nuts. 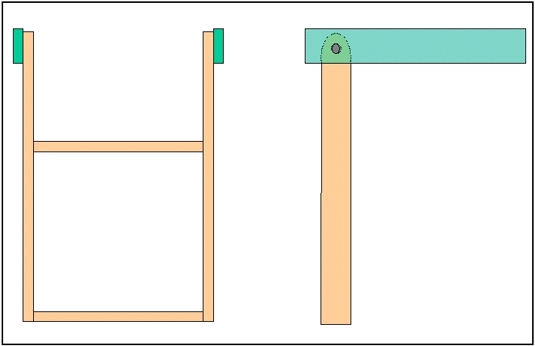
Slide ThreeThe wall is 3/4" melamine cut approximately to 39" wide by 36" tall. It is screwed to the wall frame using 1-5/8" countersunk square-drive screws. The angled support bracket is 3/4" thick by approximately 58" long and is mounted to the wall frame and ceiling joists using 3/8" bolts, washers, and nuts. 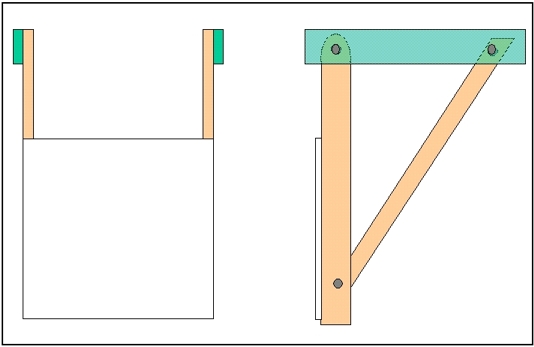
Slide FourThe WoodRat bracket is planed and jointed to be square and flat--fabricated to the dimensions provided by WoodRat (2" x 5" x 36"). It is mounted to the melamine wall using (4) 3/8" bolts, washers, and nuts.
Slide FiveThe WoodRat hangers are planed and jointed to be square and flat, again, fabricated to the dimensions provided by WoodRat (1" x 2" x 10"). Actually, WoodRat specifies a 9" length dimension, I made mine longer because (add your best reason here). I rabbeted the hangers as specified by WoodRat (6mm x 12mm). The hangers are attached to the bracket using #8, 2-1/2" wood screws, with the cull of the rabbet located 25mm below the top of the bracket. 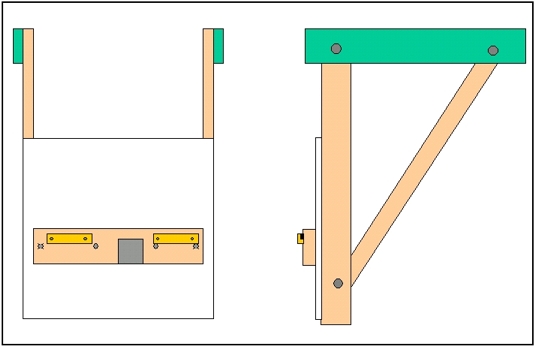
Slide SixThe WoodRat fits tightly over the hangers and bracket. The top surface of the WoodRat is approximately 50" from the floor, which is approximately 18" from my eye-level. 
Slide SevenThe WoodRat wall swings up and out of the way to clear the area when needed. 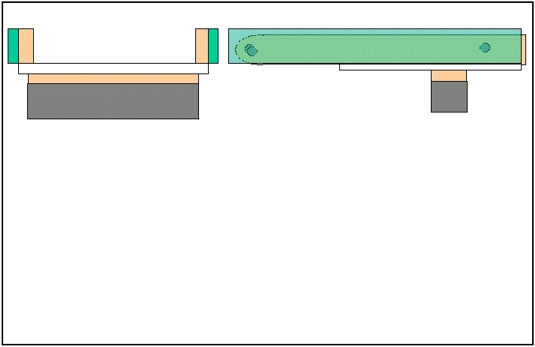
Installation PhotosPackaging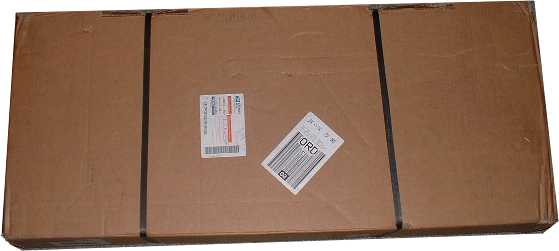 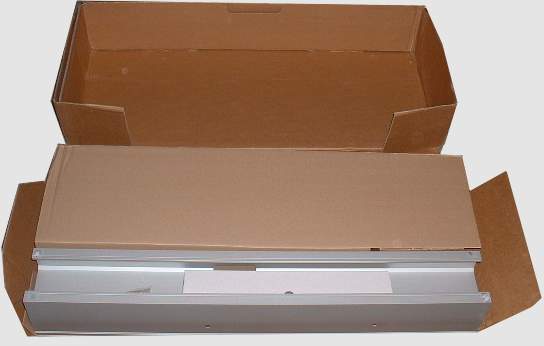
Photos of the Front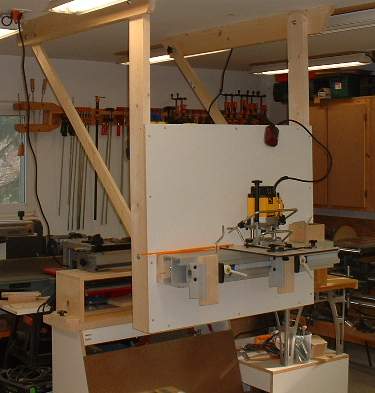 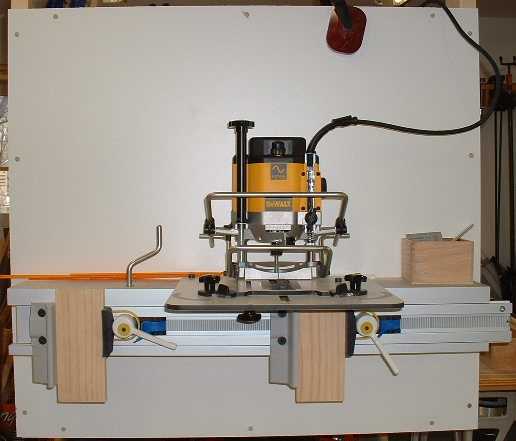 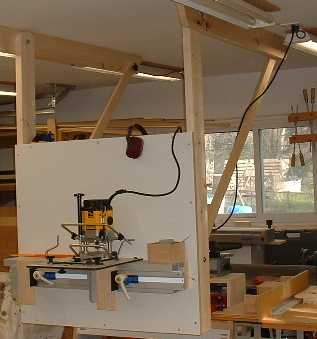
Photos of the RearThe rear provides storage for my WoodRat accessories, manuals, and so forth. 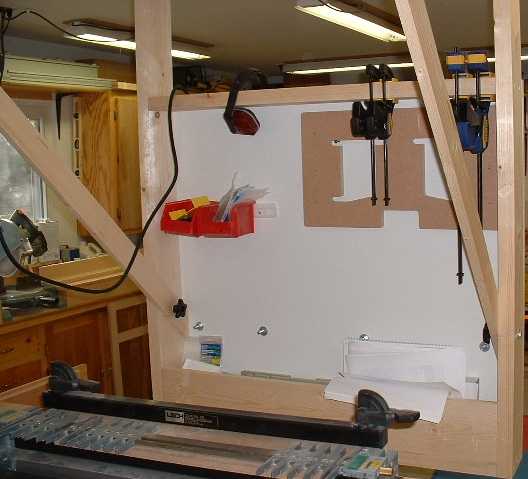 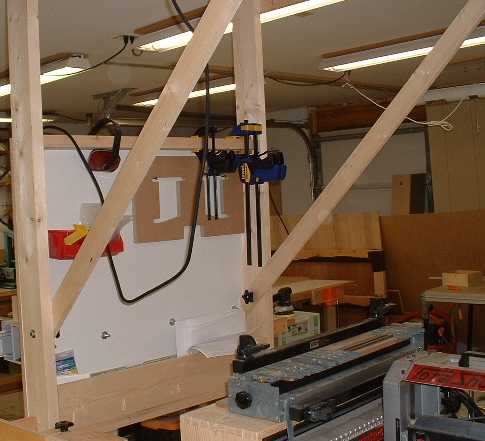
What I like About the WoodRatThere is a lot I like about the WoodRat, such as...
What I Don't like About the WoodRat
Bottom LineThe WoodRat is the most unique joint-making machine on the market. The JDS Multi-Router comes to mind ($2700) as a similar multiple joint-making machine. But the WoodRat does not require templates which can be costly and a pain to store. It does not require guide bushings that can lead to inprecision. It is relatively easy to use (dovetails notwithstanding), a pleasure to use, and incredibly versatile. I would use it daily if were not for the clamping and rattle issues. It seems like every project we produce could have a portion of it completed on the WoodRat. It is now my go-to machine for box joints, shelf dados, sliding dovetails, and so forth. I always plan to use it for profiling operations, then end up using one of our two router tables. Old habits die hard. Is the WoodRat right for every home and commercial woodworker? Probably not. However, if you want a tool to grow with that WILL machine all of the joints described above, and you’re willing to tinker and work with the tool, learn it, and you’re willing to build or buy some accessories, the WoodRat is hard to beat. If you want the traditional, hand-cut look for your joints, no jig I know of compares to the WoodRat. It offers almost infinite joint (box joint, dovetail) layouts and size options and produces all of the joints necessary for traditional furniture making. And for a rating. Because of its uniqueness, versatility, ease of use (dovetails notwithstanding), safety, ergonomics, and everything else, I give the WoodRat a 5. Due to the sliding bar rattle and dovetail craziness-frustrations, I originally gave the WoodRat 4 stars. But given that the newer versions are rattle-free and include t-channels for clamping, and other features, I have updated the rating to a full 5 stars.
Machining WoodRat Box / Comb / Finger JointsProducing box joints on the WoodRat is a very simple and almost fool proof task. It does not require templates, jigs, test cuts, or anything else beyond a pencil, the work pieces, and a straight cutter. And the advantage of the WoodRat is that the finger/socket spacing is up to you. You can choose symmetrical or assymetrical. Your choice. Here is the procedure I follow:
Again, the instructions are more complicated than actually performing the operations. Machining WoodRat Through Dovetail JointsSome day I will finish this procedure. Machining WoodRat Mortise and TenonsSome day I will finish this procedure. Machining WoodRat ProfilesSome day I will finish this procedure. Other WoodRat TidbitsBlu-Tak Elmer's Tack 'N Stick Reusable Adhesive, Stock Number #98610 WoodRat Brush RubberMaid G192 Vegetable and Hand Brush Erasing Pencil Marks Formulas "I don't know if this will help clear it up but my Excel-based calculator which I originally wrote with the WoodRat in mind but which works just as well for the Router Boss uses the following formula. Comments / QuestionsWas this article helpful? Do you have any questions? E-Mail Us! We would love to hear from you! |